The Crow Canyon Conditional Formatting App is an add-on for Office 365 that allows users to format columns and rows in a list view based on conditions in the data.
Key Features
•Color a column or entire row based on conditions
•Add icons to the column view when conditions are met
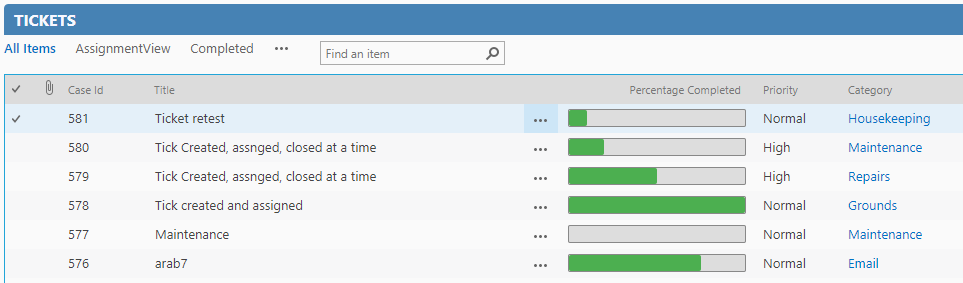
•Show number and currency values as a progress bar
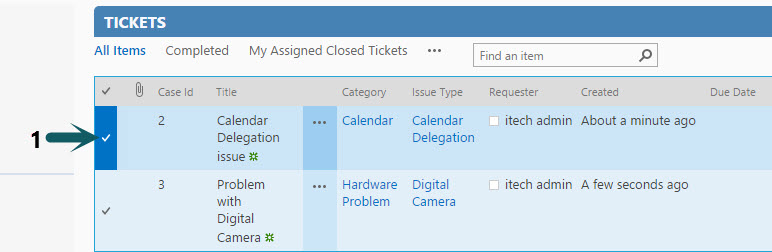
How to reach the Conditional Formatting settings page
Select any item in a list view to enable the list ribbon. Click "Crow Canyon Formatting" from the list ribbon to configure column formatting.

![]()
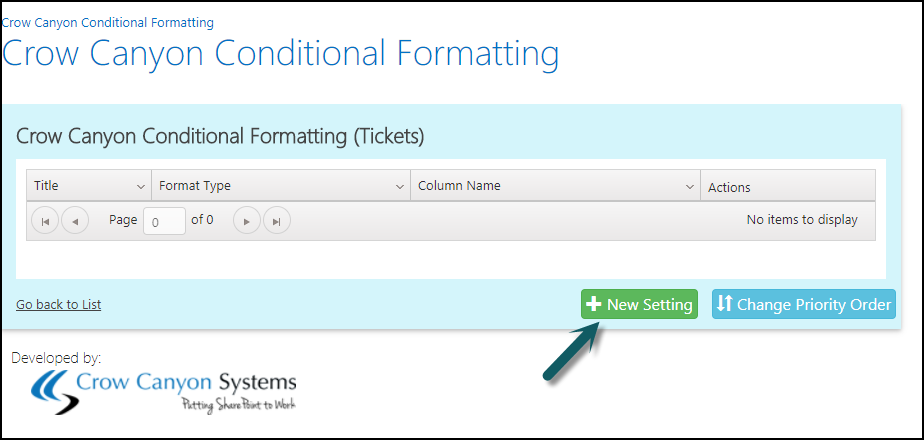
Configuring Conditional Formatting settings
After navigating to the settings page of Crow Canyon Conditional Formatting, click on ‘New Setting’ button to configure a new setting.
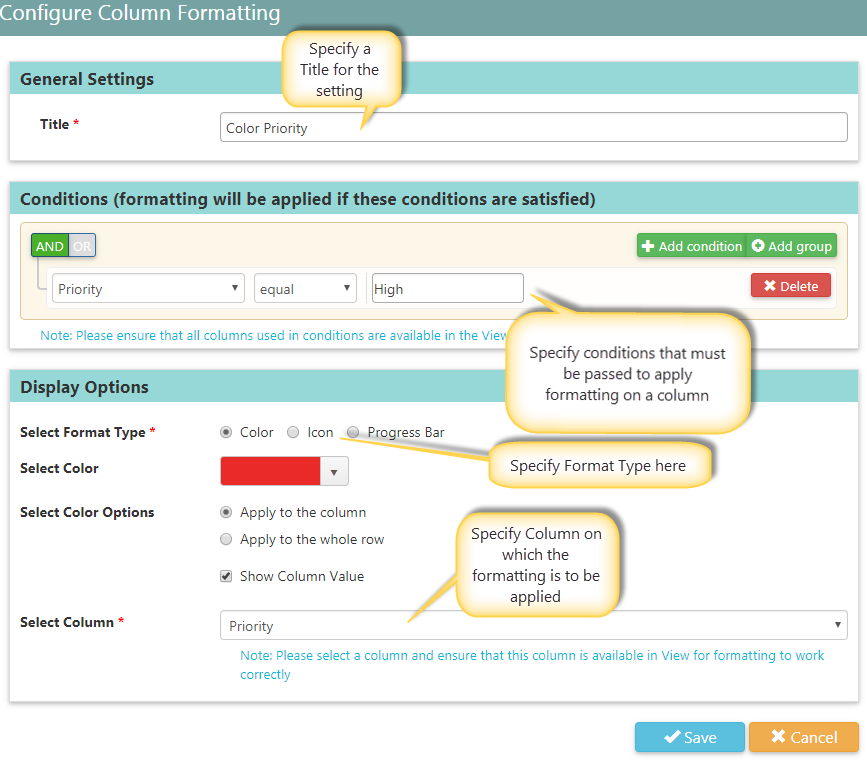
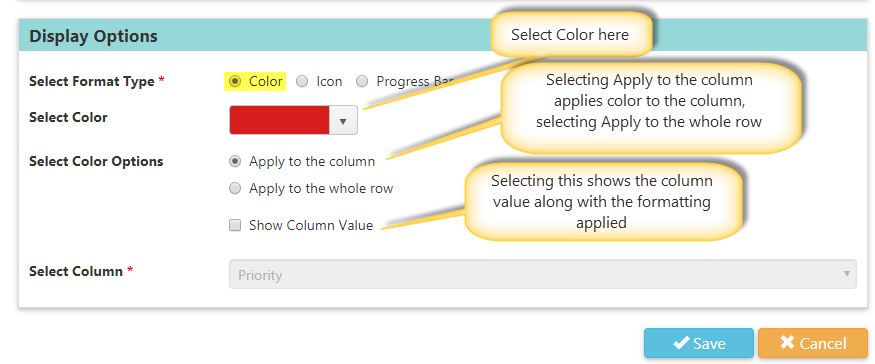
Three Display Options: Color, Icon and Progress Bar
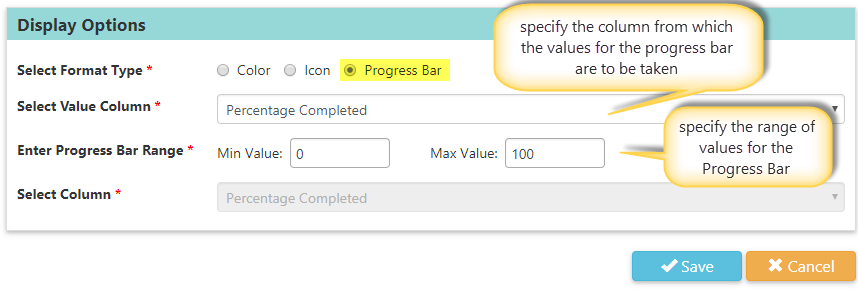
Select Format Type: The options available are Color, Icon and Progress Bar. You can select one of the three.

Display options vary based on the Format Type selected.
Color
Choose ‘Color’ as Format Type by clicking on ‘Color’ radio button
Examples
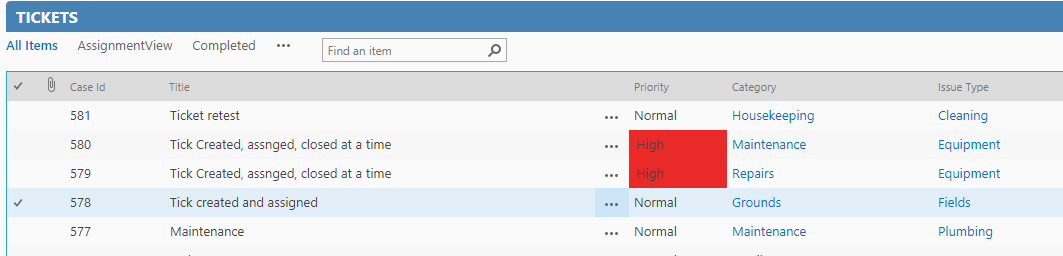
"Apply to the column" and "Show Column Value" selected: applies Color to the column and shows the column value as well.
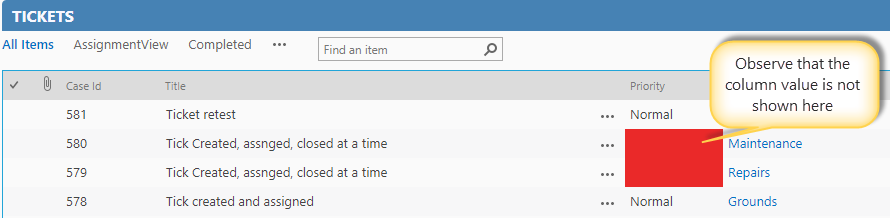
"Apply to the column" selected and "Show Column Value" not selected: applies Color to the column but hides the column value.
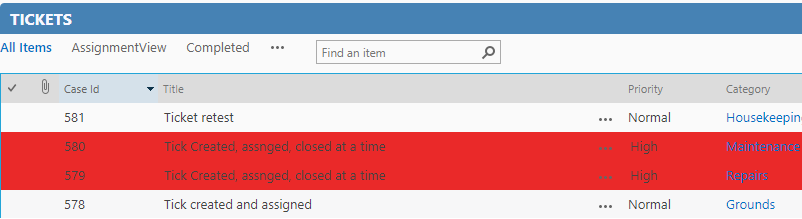
"Apply to the whole row" selected: applies Color to entire row.
Icon
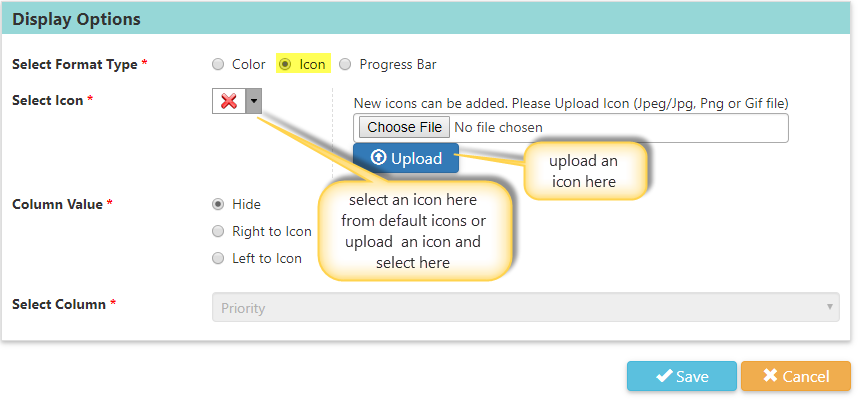
"Hide": hides the column value
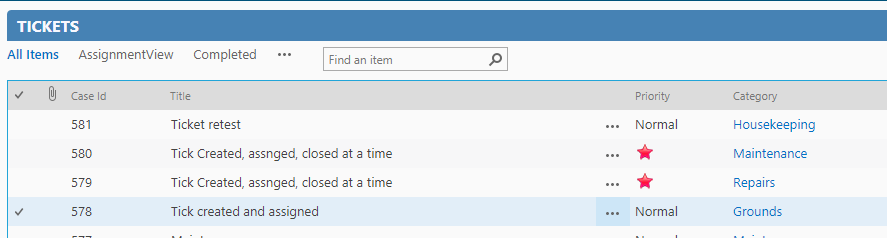
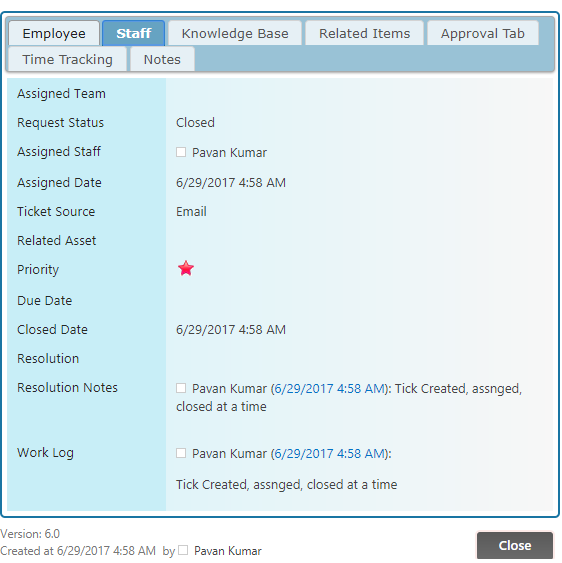
When "Hide" is selected, the icon shows, but the value does not in the SharePoint form.
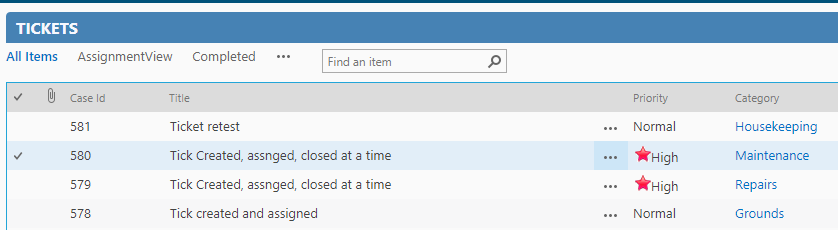
"Right to Icon": shows column value to the right of the Icon.
In the form:
"Left to Icon": shows column value to the left side of the icon.
In the forms
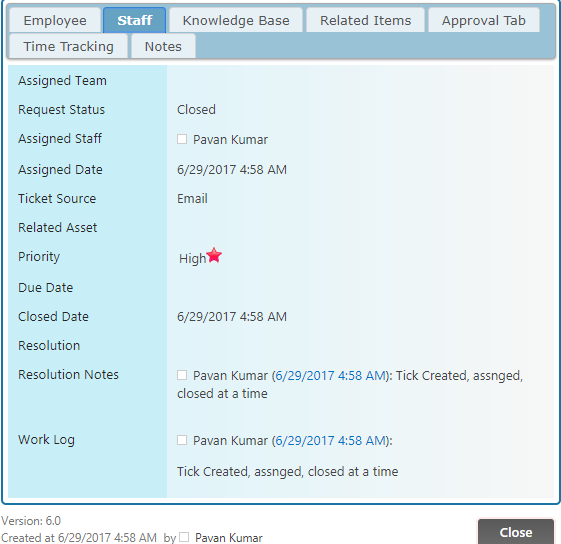
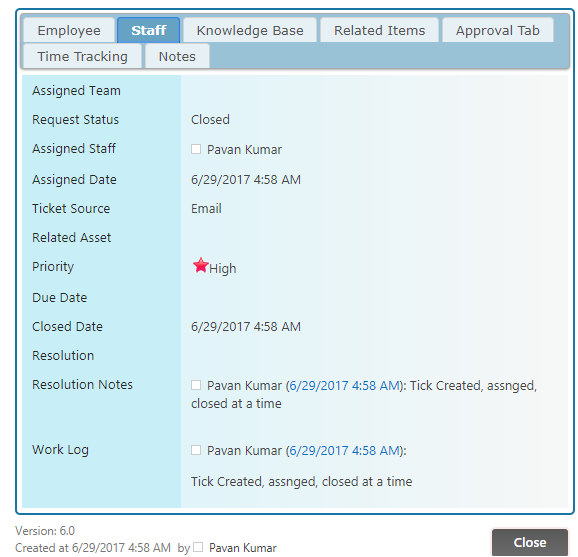
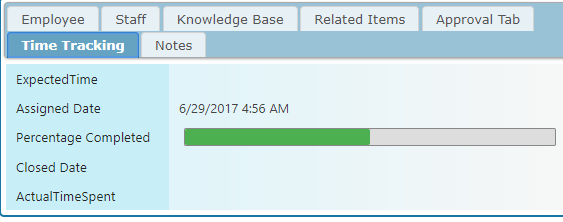
Progress Bar
In the Forms
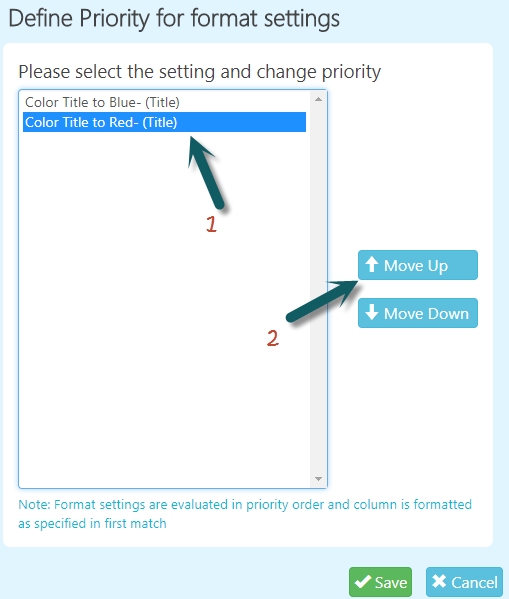
Change Priority Order
Giving Priority Order to settings is useful when there are multiple settings configured on same column. This option gives you the ability to prioritize settings.
Assume there are two settings configured on ‘Title’ column, one colors the Title to blue and the other colors the Title to red.
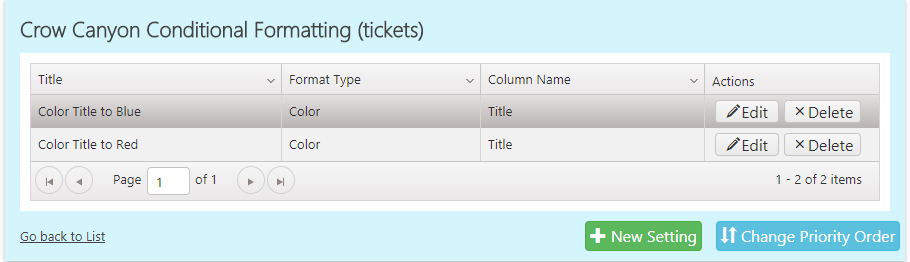
If you want the Title to be colored Red, just change the Priority Order of the setting. To do this click on ‘Change Priority Order’ button and then move the setting that you want to be highly prioritized up.