|
<< Click to Display Table of Contents >> Setting up Tabs |
  
|
|
<< Click to Display Table of Contents >> Setting up Tabs |
|
CREATING TABS
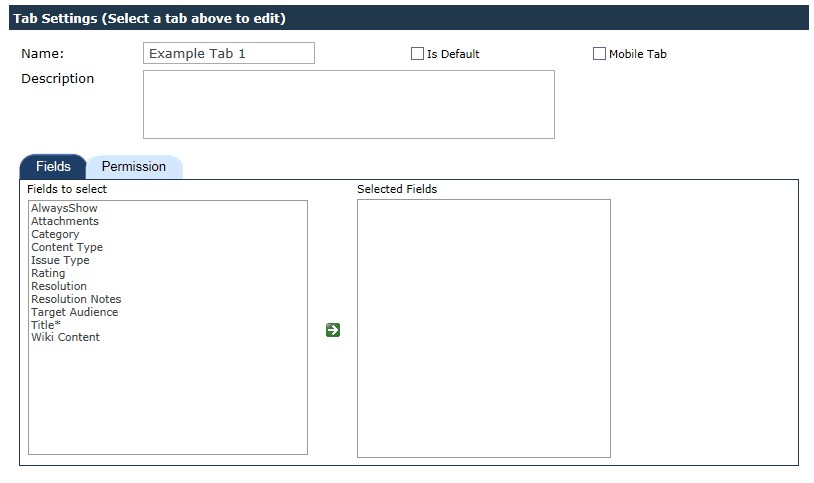
To start creating tabs, enter a name into the "Name" box, and then click Create Tab. For this example, the tab being created is called "Example Tab 1". This is how it will look after you click Create Tab:

When you create additional tabs, the new tab will be highlighted in green, while the original tab(s) will have a plain white background:
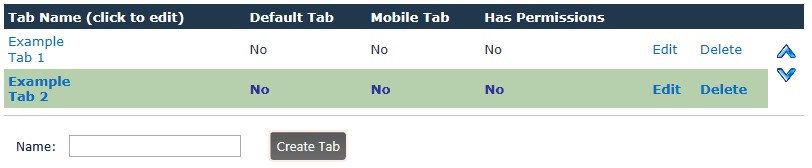
The highlighted tab is the one that you are editing at that moment.
In this screen you'll be able to quickly see if which tab is considered the Default Tab, which one is considered the Mobile Tab, and whether or not any of the tabs have permissions applied to them. This screen also allows you to Delete the tab. Deleting the tab will hide the columns that were associated with that tab. In order to see those columns again, add them to an existing tab, or create a new tab and add them to it. Deleting a tab does not impact any values those columns that were on the tab have. The column values are stored separately.
EDITING TABS AND ADDING FIELDS TO TABS
When you're editing a tab, you have the option to move the tab up or down using the arrows on the right side of the screen:
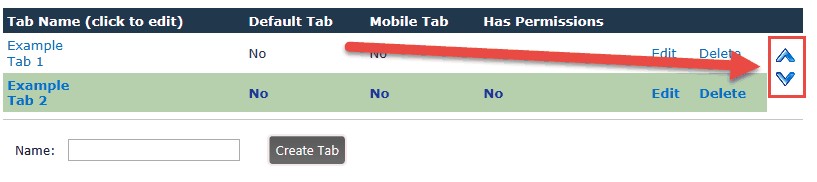
This will move the highlighted tab up or down, which impacts the order in which the tabs are displayed on the form:

The next section is where you can change the name of the highlighted tab, add a description for the tab, set the fields that show on the tab, and the permissions for the tab:
If you wish to change the name of the highlighted tab, you can enter a new name for the tab.
Checking "Is Default" will set this tab as the tab that appears first when a user opens the item. There can only be one default tab, so selecting this option for the current tab will change the option for a previously selected default tab.
Checking "Mobile Tab" will display the highlighted tab as the only tab when viewing the list item from a mobile device. This allows you to configure a limited set of columns to view on a mobile device. Any tab marked as a "Mobile Tab" will not display when viewing the item on a desktop computer.
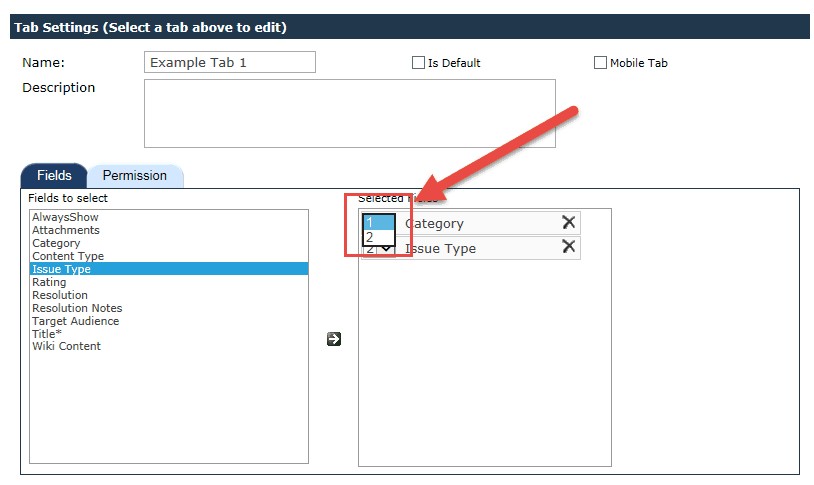
To add one or more fields to the tab, select one or more fields from the left-hand box and then click the green arrow in the middle of the boxes:
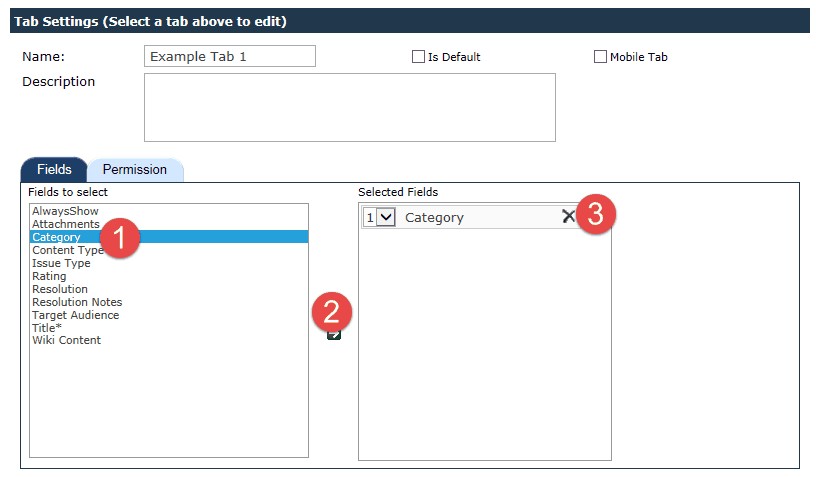
You can delete the field from the tab by clicking the "x" next to the number 3 in the above screen shot. When you add more than one field, you can change the order in which they display by selecting the dropdown next to the number and selecting a new number: