Once the installation is completed, NITRO Studio will be available in the Site. Go to Site Contents and you will see it listed:
(The below image is for Site Contents of a new Team Site with minimal content. You would see more items in the Site Contents if the Site was already in use and had lists and libraries in it.)
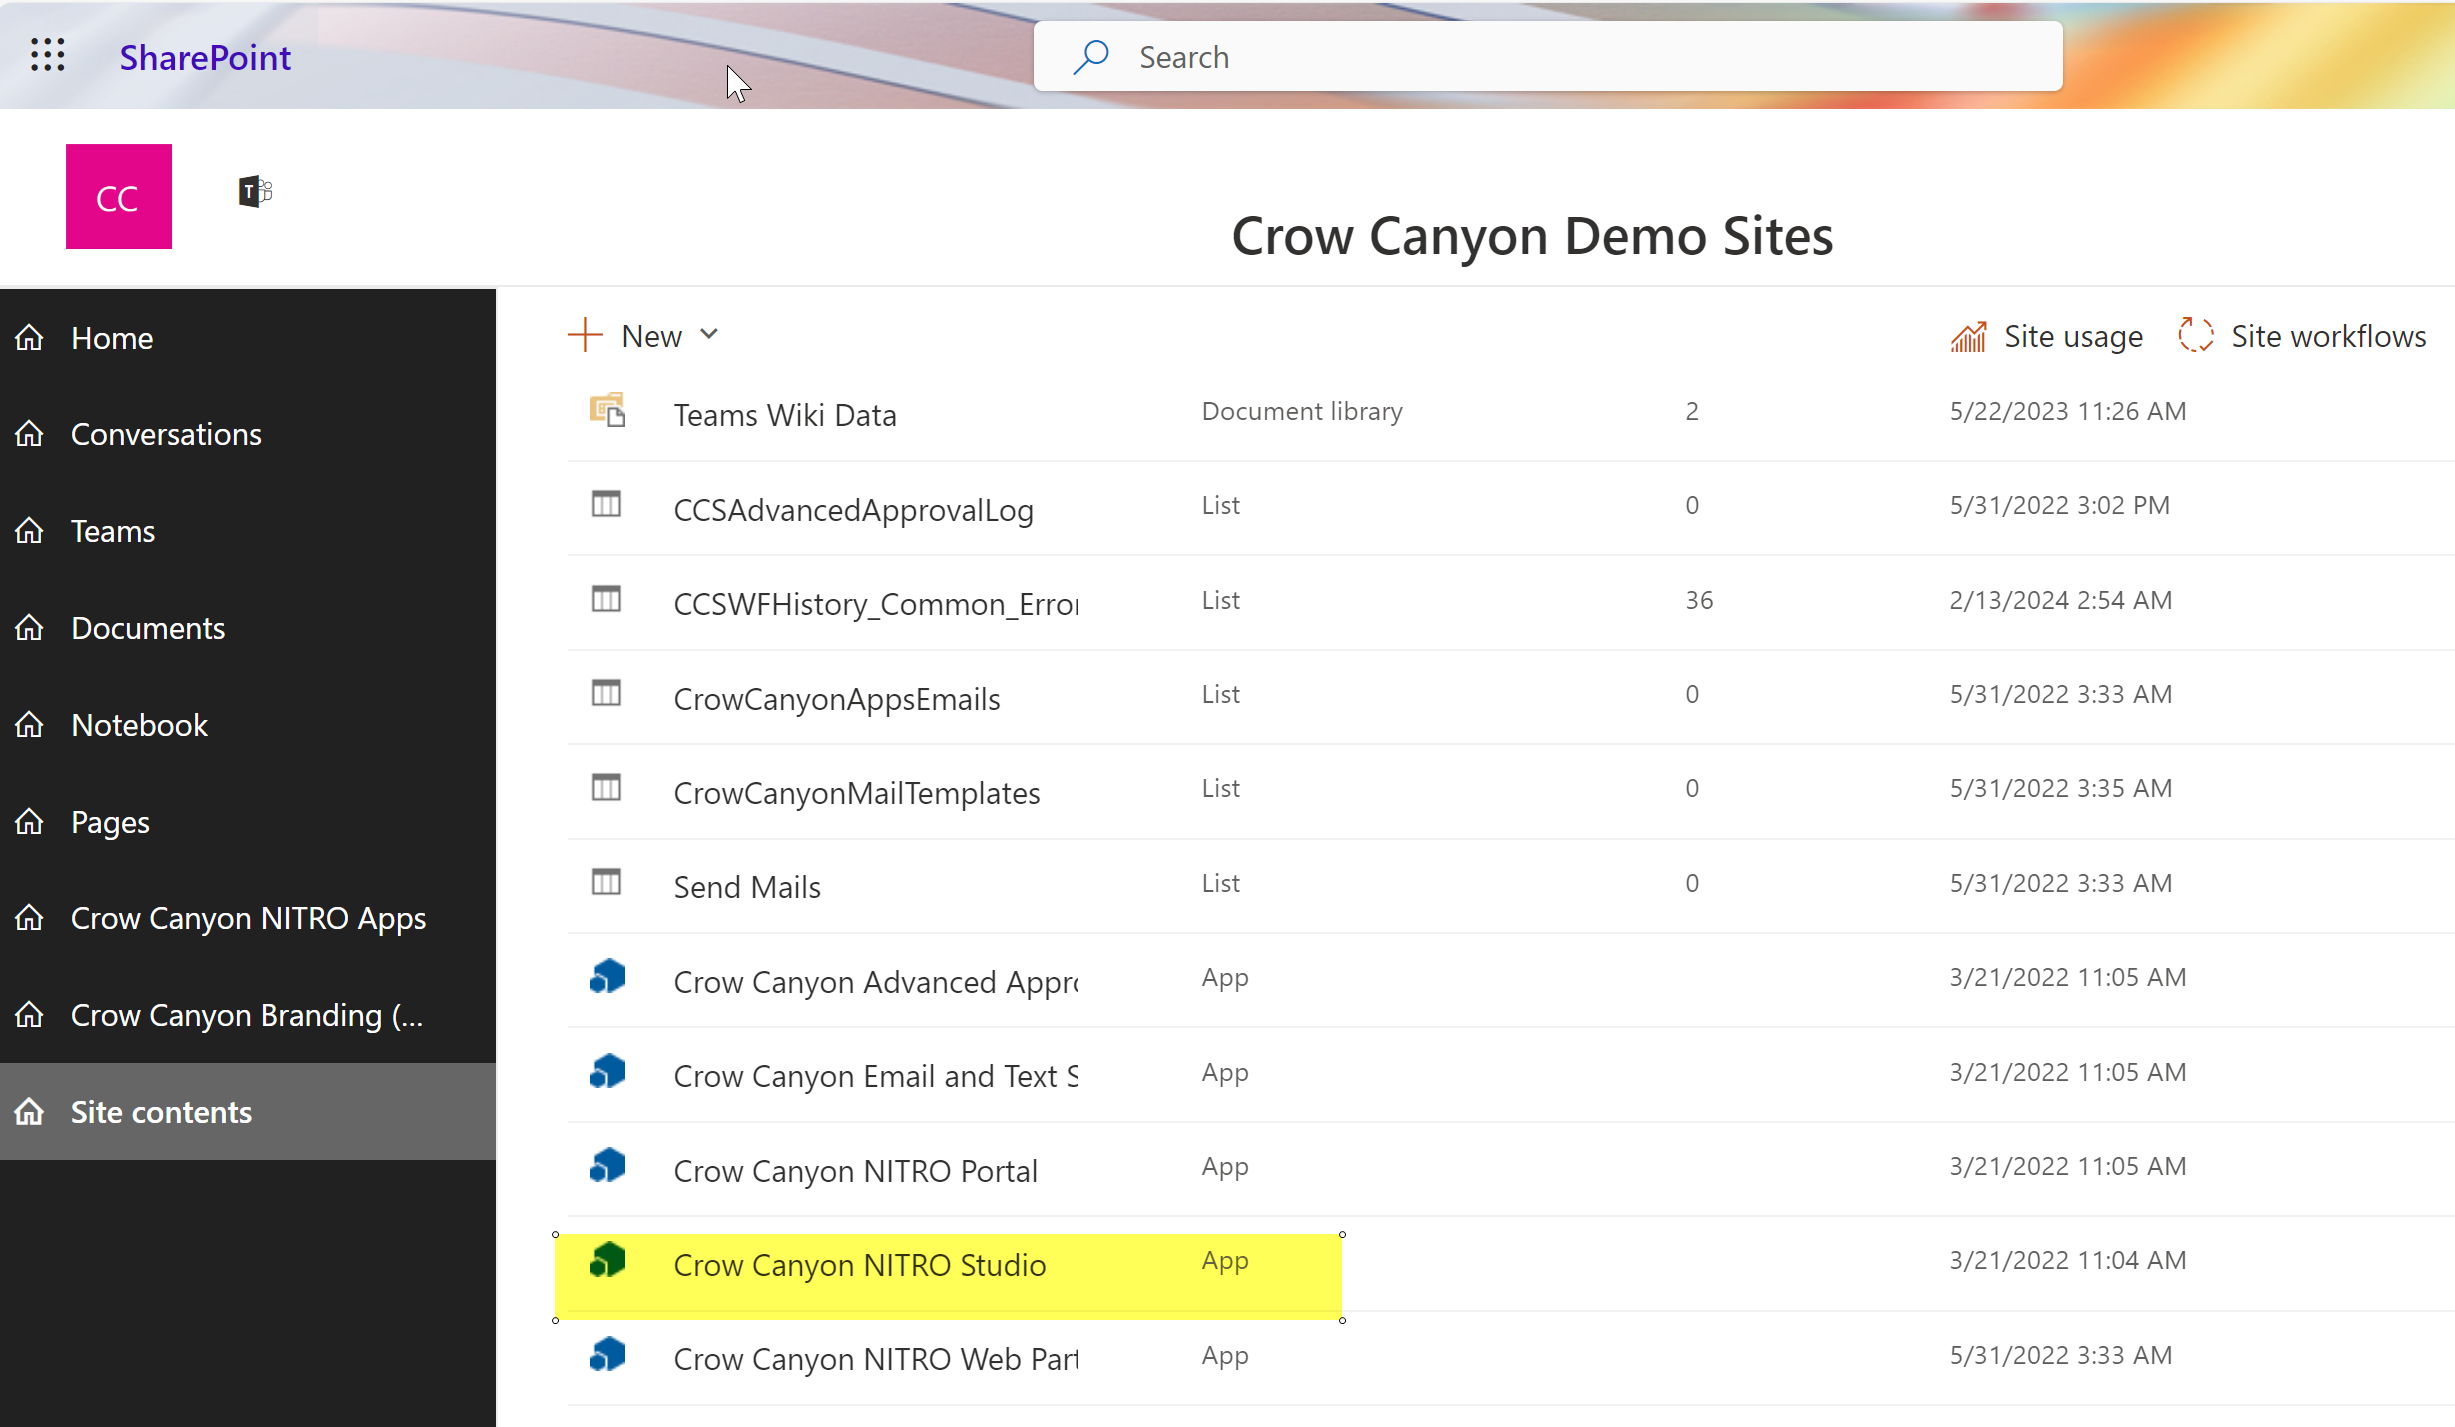
Click the "Crow Canyon NITRO Studio" link in Site Contents. (There may be some messages in the NITRO Studio page that comes up about updates or enabling scripting. Instructions on that page should be able to guide you if further setup is needed.)
The next steps after this depend on if that is a new Site that has just the minimum in it (such as a newly created Team Site) or if it is a Site that has already had lists or libraries added to it.
If the Site is a new Site, you would add lists and create Forms for those lists, depending on what the purpose of the Site is. For example, for a simple request system, you would add a list and create columns for that list. The users would fill out the form to make the request. That means you would include columns for Title, Description, Requester, and any other data you want to collect.
Along with the forms, you probably will want to add both Custom Actions and Workflows. Again, this depends on the functionality of the application you are building.
We have the rest of this manual, as well as training videos and tutorials to help guide you in the application development. We also offer training courses.
And of course, we are here to help and support you as you put NITRO to use at your organization!
Go to the NITRO Admin Guide to start using NITRO Studio in that Site.