The way Crow Canyon web parts are added to a page differs between the Classic UI and Modern UI. If you are on SharePoint 2013 or 2016, you are using the Classic UI by default. If you are using SharePoint 2019 or SharePoint Online for M365, you may be using the Modern UI. One quick way to tell is to see how you edit a page. If you edit a page by going to the ribbon in the upper left, you are on the Classic UI. If you click an Edit button on the right side of the page, then you are on the Modern UI. See screen shots below. Click here if you are on the Modern UI to go to those instructions.
Note for SharePoint 2019 users. If you are using the Modern UI, you will not be able to add Crow Canyon web parts. Crow Canyon does not have Modern UI web parts available for 2019 at this time.
Editing a page in the Classic UI:

Editing a page in the Modern UI:

To create a classic webpart page:
Go to Site contents -> Site Pages -> Web Part Page in 'New' button dropdown
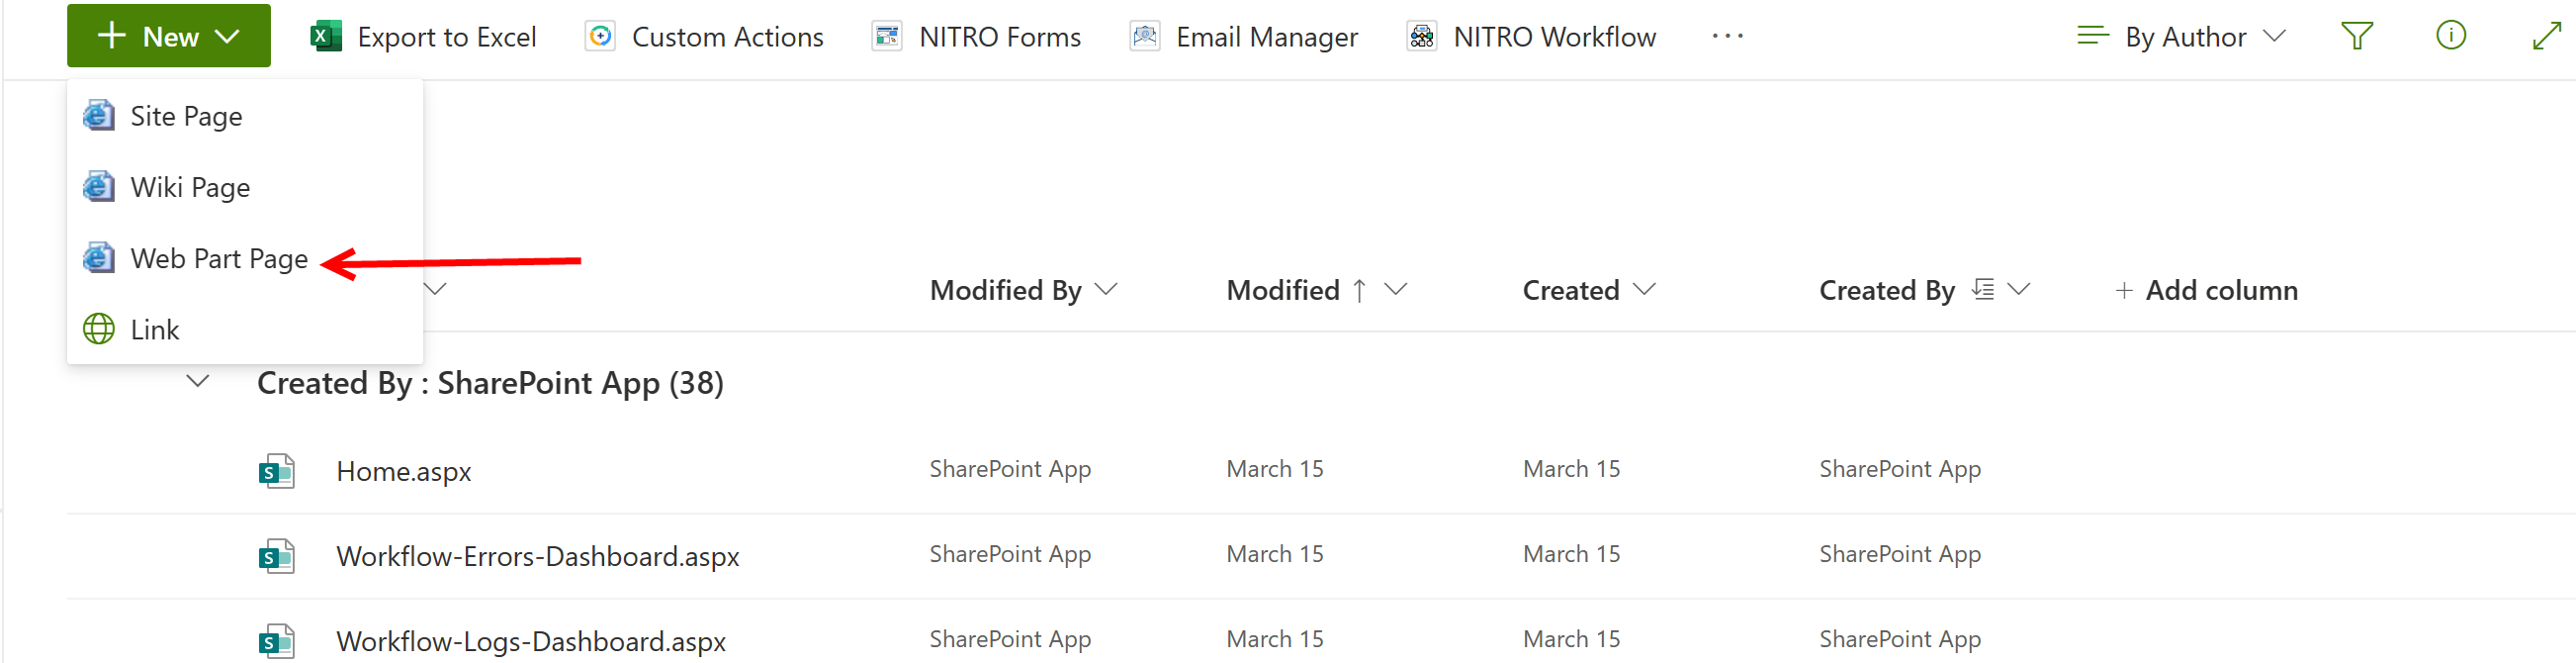
below page will open
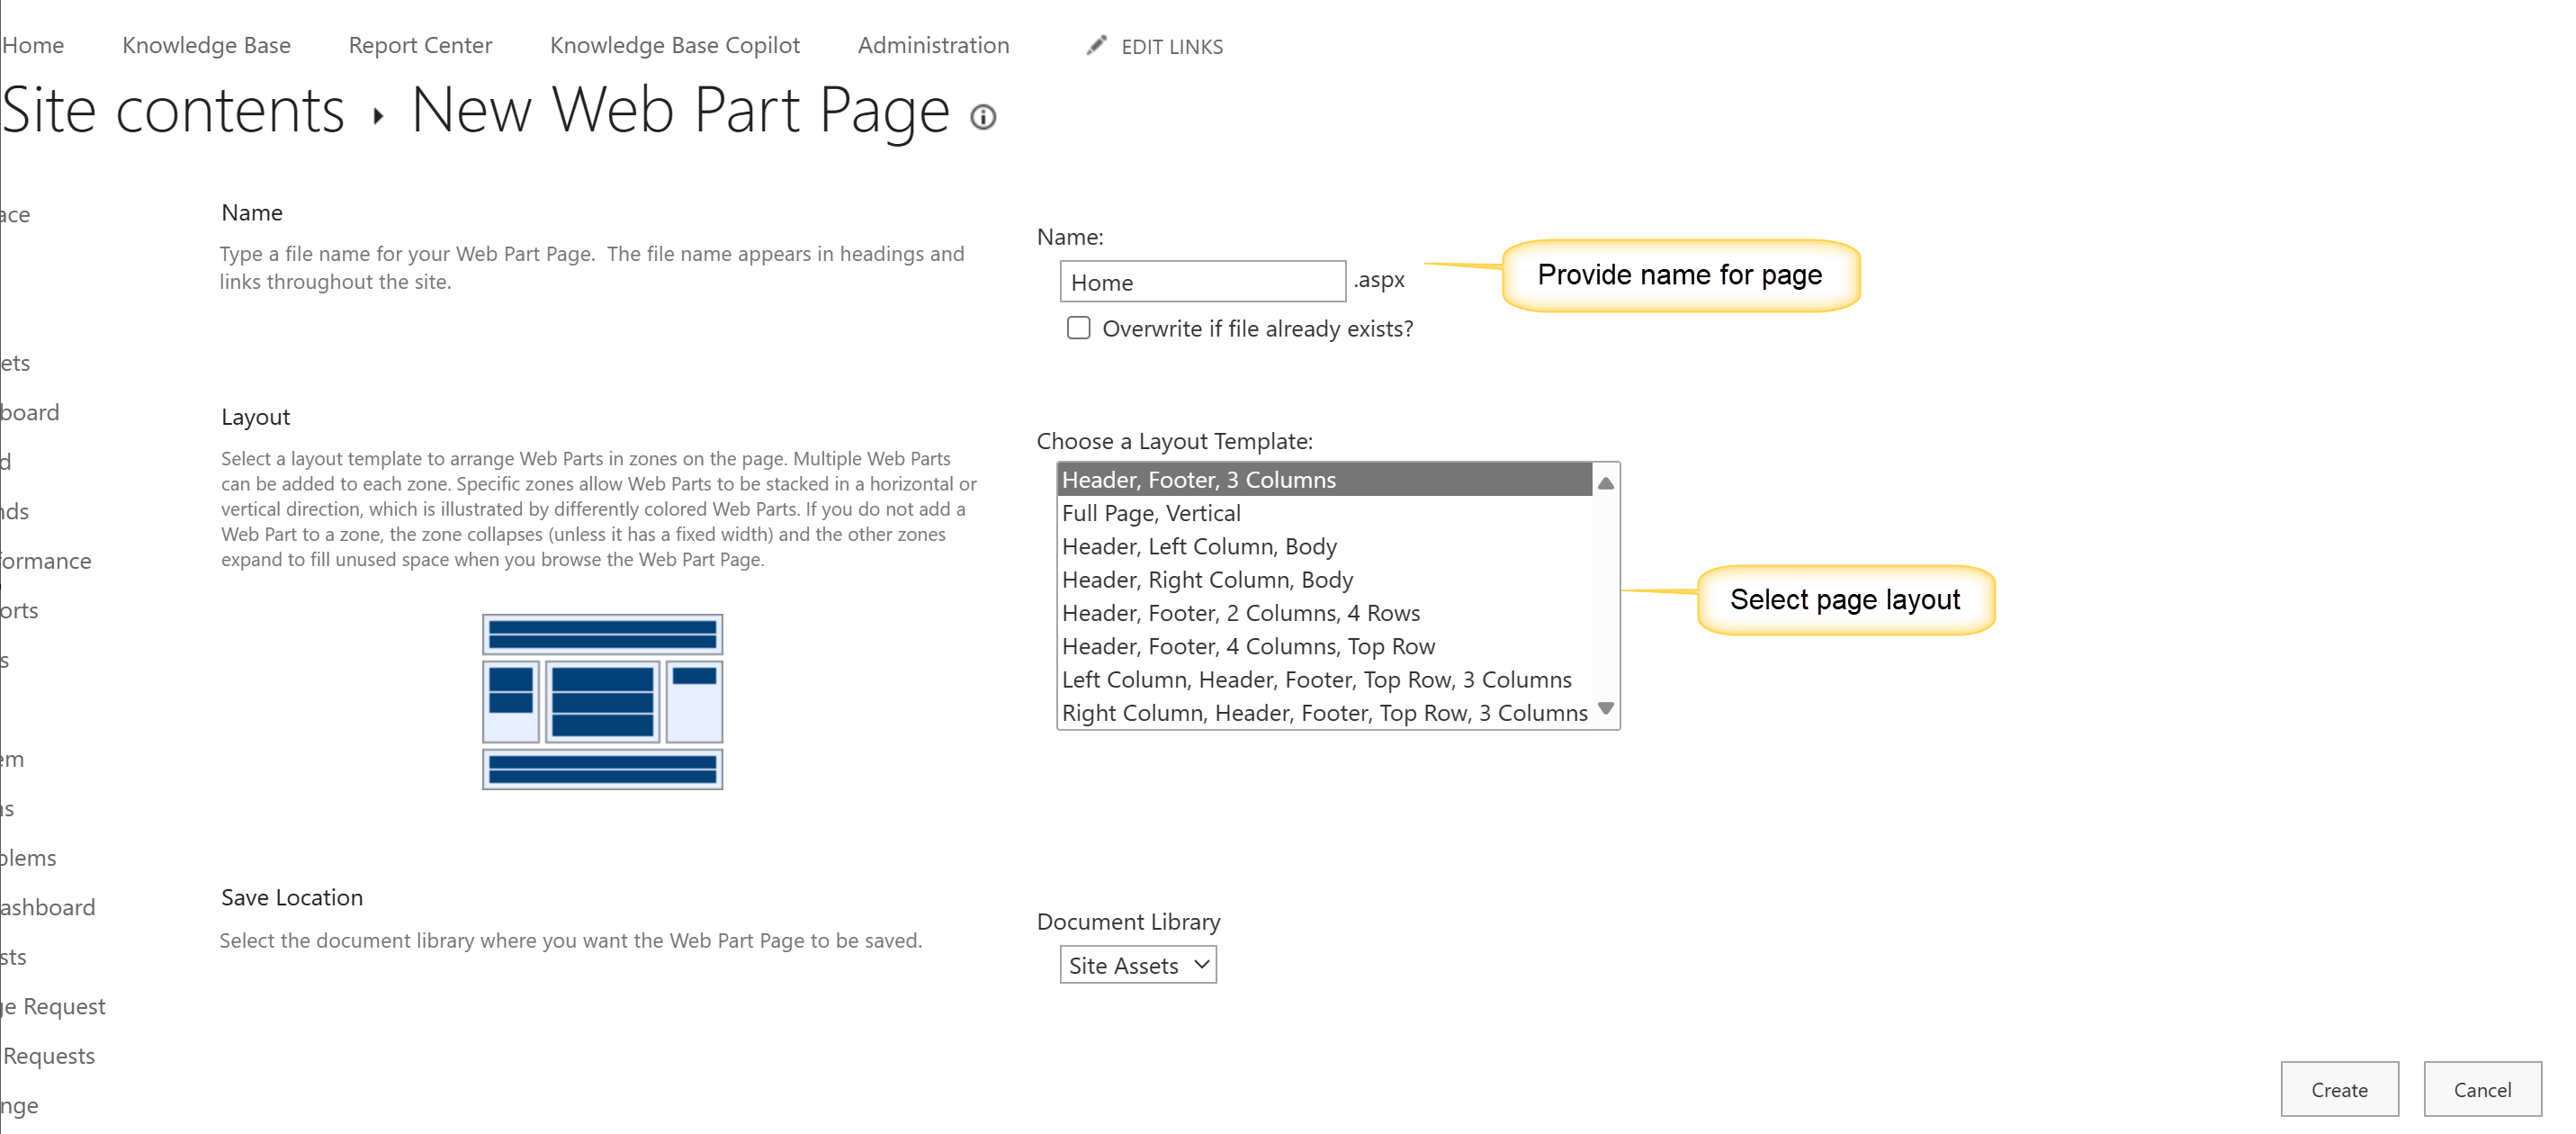
Select document library location from dropdown. In above screenshot, 'Site Assets' is selected as document library.
Click create button to create page in Site Assets library.
To add a List View to a classic page, go to this screen:
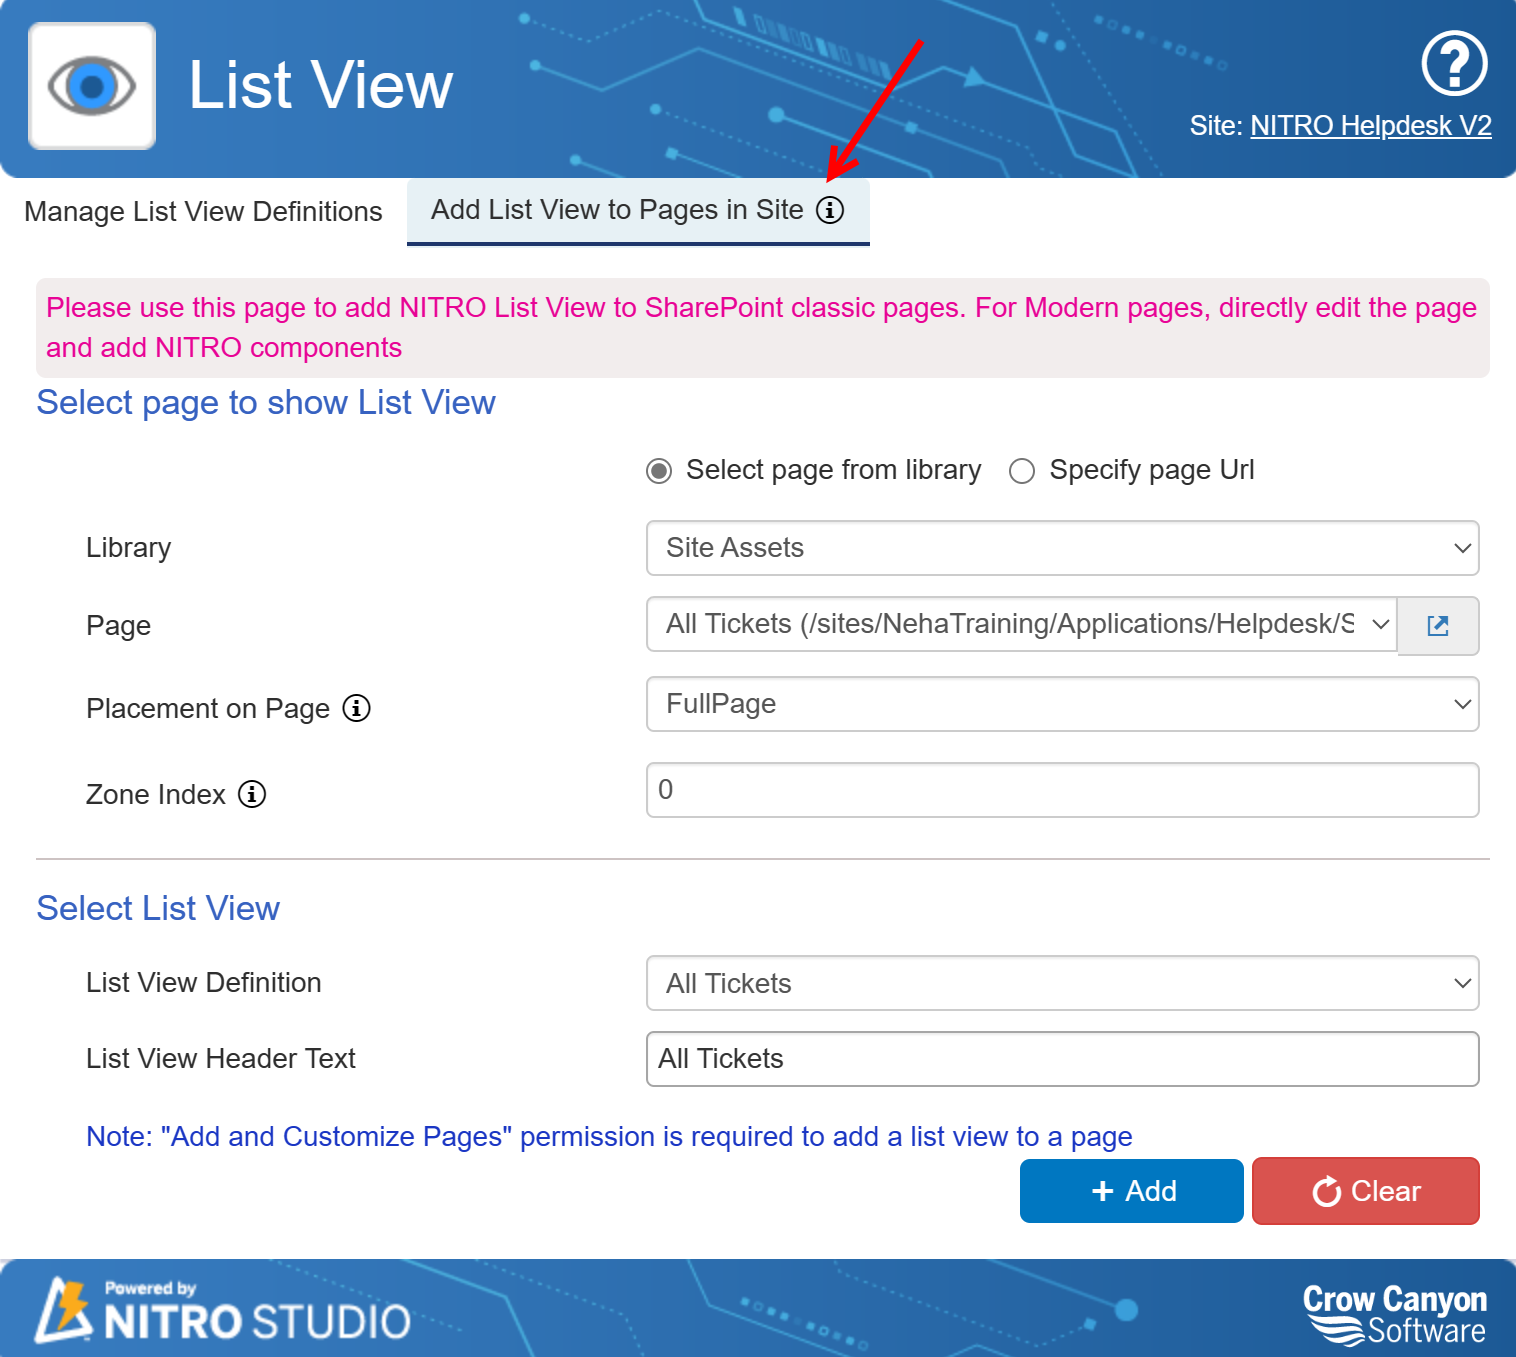
Select page from library: With this option selected, a drop list for Library and Page shows up. The Library list is the Document and Page libraries in the Site. Once the Library is selected, the Page drop list fills in.
To find out which Library contains the page where you want to add the web part, go to the page itself and look at the URL:

Specify page Url: With this option selected, "Library" and "Page" is replaced by a box to enter the URL of the page where the List View will be placed.
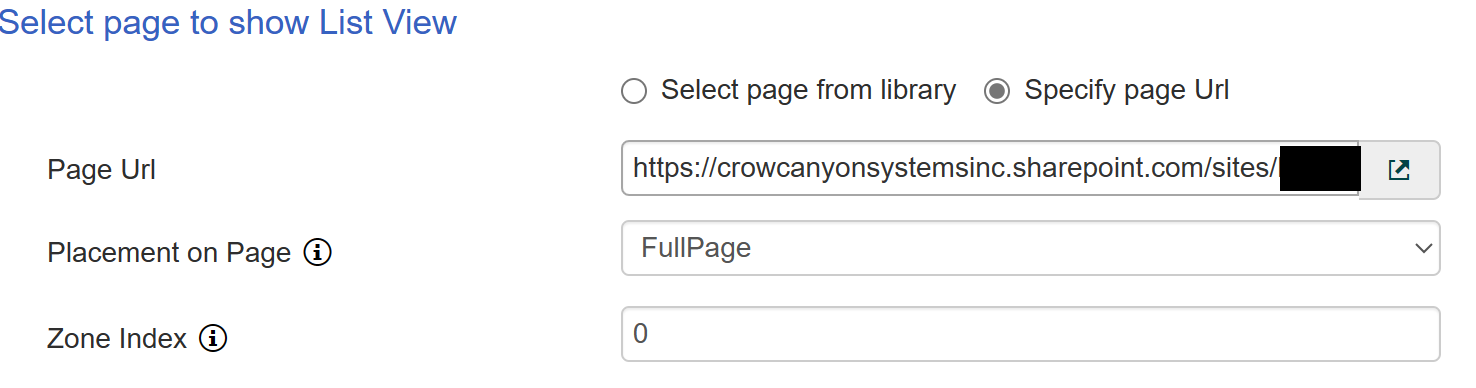
Placement on Page: This lists the locations on the page where the List View web part will go. The locations depend on the layout of the page. For example, for a page with a header and footer and three columns in between, the list will be: Header, Left Column, Middle Column, Right Column, Footer.
Zone index: Where the List View web part is placed in relation to other web parts in the same location (section) of the page. The Zone Index is 0-based, with 0 being the top place.
Select List View
List View Definition: Use the drop down to choose the configured List View
List View Header Text: The text that will appear as the header for the web part on the page.
Click Add and you're done! You can add the same List View to multiple pages.
To remove the List View from any page, navigate to the page where the web part was added, Edit the page and then use the "Delete Web Part" option to remove it. This only removes the web part from the page; it does not impact the configurations of the web part.