|
<< Click to Display Table of Contents >> Configuring Print Manager |
  
|
|
<< Click to Display Table of Contents >> Configuring Print Manager |
|
A Print Template can be created, edited or deleted in the Crow Canyon Print Settings.
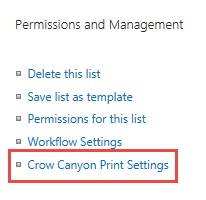
Open Crow Canyon Print Settings by going to List Settings/Permissions and Management column when in the List where you want to create a Template:
Once Crow Canyon Print Settings is open, it can be used to create Templates for the list. Existing Templates will be listed under "Print Templates", where they can be edited or deleted.
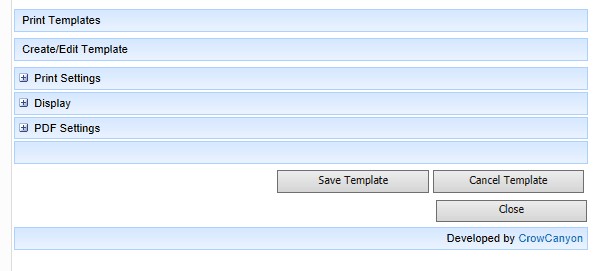
Creating a Template: use the sections under "Create/Edit Template" as follows:
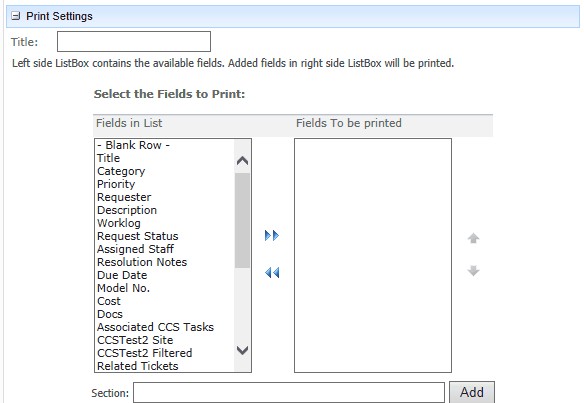
1) Give the Template a Title
2) Add fields from the left-hand box to the right-hand box. Move the fields up and down with the up/down arrows on the right. The order of the fields in the right-hand box will be the order of the fields on the print out.
3) Add " - Blank Row - " (from left-hand box) or a Section header (below the "Select the Fields to Print" boxes) as needed
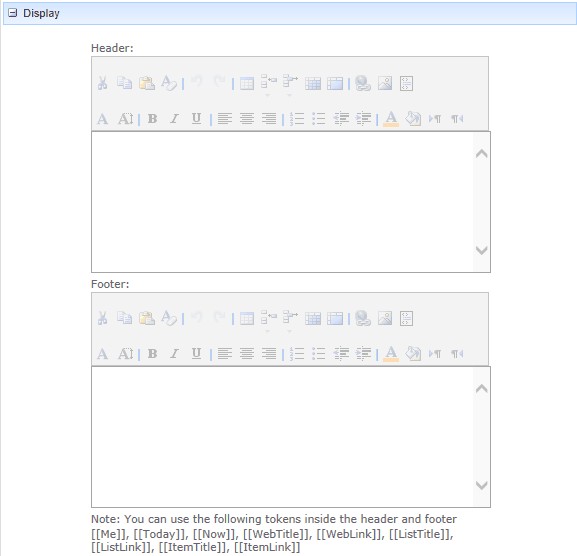
4) Add a Header and/or Footer, if needed. These can be rich-text.
5) Either box can contain the tokens (variables) below the Footer box.

Use the options in the PDF Settings section as needed to adjust the PDF printout.
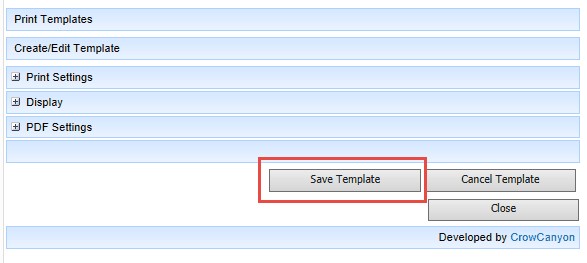
When done, press Save Template to put the Template into the "Print Templates" list and make it available in the List.
The new Template is now in the Print Templates list

Choose Edit for the Template and make changes in the Create/Edit Template section. When done, press Save Template.

Choose Delete for the Template and confirm the deletion.
